Cooking out in the wilderness is fun and there are many different ways to cook. From the type of stove or pots you use to the dehydration process of food. In this post I will show you how to make your own homemade pot covers. (aka pot cozies) This is a very light, fuel-efficient method of wilderness cooking.
When you’re cooking out in the wilderness and you only have so much fuel, it’s great to find ways to save on fuel (not to mention the price). For example, if you are re-hydrating or just cooking something such as mashed potatoes, you will need to simmer. Instead of wasting fuel on simmering, I prefer to bring it to a boil. Then put the pot in a cozy and let it simmer while the heat is being reflected back into the pot. Just make sure that it’s not too hot because the inner part of the insulation used in the cozies are just made out of plastic. Although, I have never had a pot too hot to melt it, I just thought I would mention that as a precaution.
It doesn’t matter if it’s for lightweight backpacking and canoe trips or car camping, this is an excellent way to keep your food insulated while you cook at the campsite. In some later posts I hope to show how exactly this helps in some cooking examples.
Instructions
For more helpful camping related videos check out the CanoeCanuck YouTube channel.
Tools for Pot Cozies
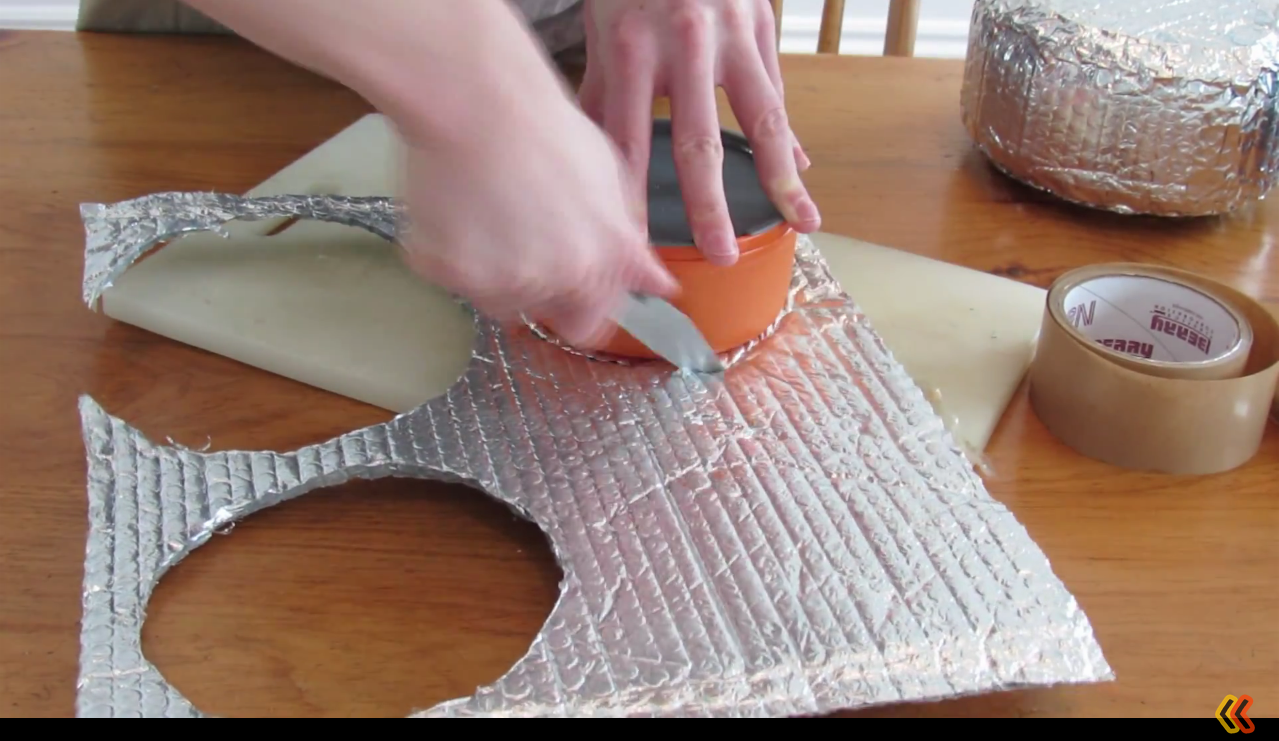
The first thing I usually do in the process of making pot cozies is to cut the bottom out. After you have the bottom cut out you can go ahead and cut out the body for the bottom part. After everything is cut out you can tape the body to the bottom piece cut out earlier. I prefer to use the flatter edge side of the insulation. Cut every inch and a half and tape down each one. By cutting every inch and a half, this keeps the circular shape of the body. After the bottom is finished, do the exact same thing for the top. As you may have seen in the video, I didn’t have enough insulation for the top so what I did was cut it in half and tape it in strips. The only downside of that is that it’s a little shorter. That does not matter so much because it is already insulated by the bottom. It also makes it easier to take off if the top is shorter than the bottom. If you want it to be as insulated as possible, extend the top all the way to the bottom. For some finishing touches, I recommend taping the edges with the tape. Also tape the inside where the bottom/top meets the body. |